
Ice-dyeing can be surprising…and not always in a good way.
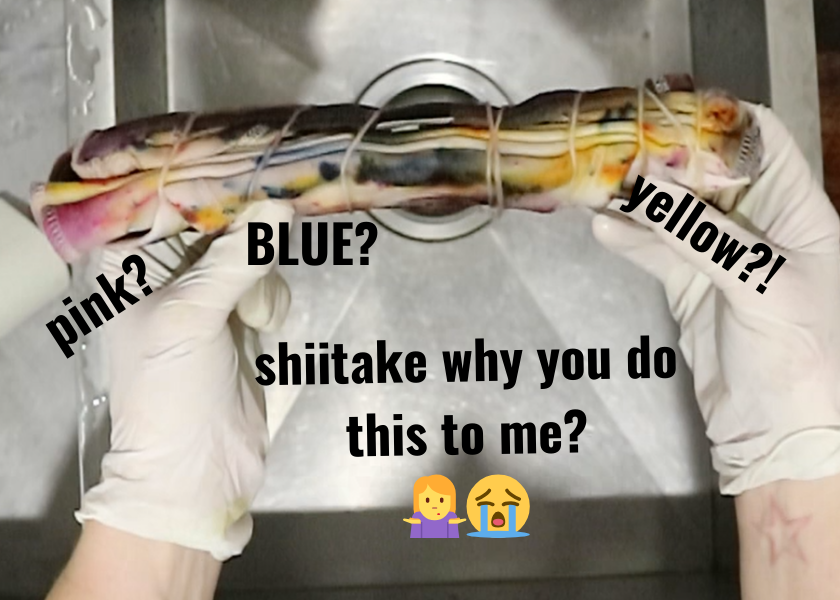
When you open up the shirt you pictured as a lovely gradient of browns and greys and find splotches of hot pink and bright blue instead, it’s not a happy accident – my first experiment with Dharma’s Shiitake is a perfect example.
But it’s a common problem. Dye colour samples are created from liquid dyeing in a solid colour, so they’re not always accurate (or even useful) when you’re using the dye powder to ice-dye.
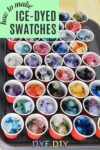
The solution? Make your own ice-dyed swatches.
These are small samples you can use to see exactly which range of colours each dye will create when used for ice-dyeing.
And in this tutorial I show you exactly how to make ice-dyed swatches, with my 68 different colours of Dharma Procion dyes.
Why do ice-dyed colours split?
So why can ice-dyeing turn a supposedly single colour into a range of unexpected colours?
There are only a few ‘pure’ dye colours. These are usually shown by an MX code.

They’re made up of a single dye colour, or pigment. When you use them to ice-dye you’ll get gradients of that colour, but no rainbow surprises.
But most of the other colours are mixes of two or more pure colours.
Think about your printer – you can get a full range of colours from just a few base colours.
That’s why in the Dharma Shiitake example I used above you can get splits of yellow, blue, pink, even orange – the manufacturer has used all of those pure colours to make that shade of mushroomy grey-brown. And when you mix it up in a liquid, all those different colours will blend to make the intended grey-brown.
But in ice-dyeing, the colours will split. Many individual powder particles will hit the fabric without being mixed, and you’ll be able to see all the different colours.
But if you have ice-dyed swatches, you can check them to see what your dye colour will actually look like when used for ice-dying.
Ice-dyed swatches supplies list
Here’s what you’ll need to make your own samples.
- Suitable fabric (cellulose based, woven or knit – example here)
- Procion dye powders
- Small paper cups
- Laundry marker
- Ice blocks
- Cake racks
- Small spoon
- Gloves
- Soda ash
- Face mask
Once you’ve got all that, it’s time to prepare for your swatch session.
How to make ice-dyed swatches
I found this process really fun, but it’s a bit fiddly and time-consuming. You can do the preparation in the first three steps upfront, then do the dyeing in a single session. Make sure you have a few hours spare before starting to dye.
I recorded the entire thing so you can follow along!
It’s really helpful to have someone nearby who can assist with organising your workflow, especially if you have a lot of dye colours – thanks husband!.
OK, let’s get started.
1. Choose and prepare your fabric
I used a simple 100% white cotton woven fabric. You can use knit, or another type of fabric – just make sure it’s similar to what you normally dye. Colours will look different on a woven linen, for example, compared to a cotton knit.
Prewash and dry the fabric to shrink it and remove any sizing/grime from manufacture and handling.
It’s now ready to cut.
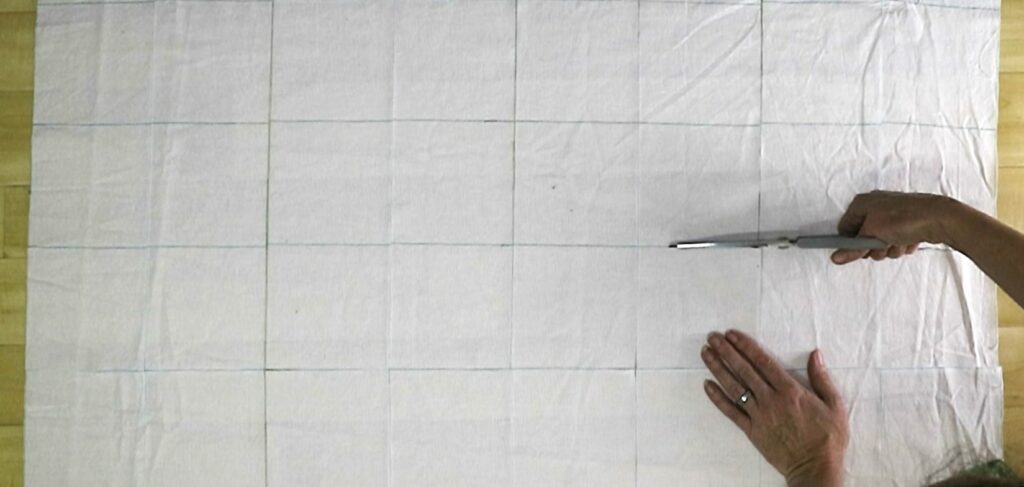
2. Cut your swatches
I decided on a size of 13 x 13cms (5 x 5 inches), then measured and marked with my quilting ruler before cutting them.
I do wish I’d made mine a little bigger – go for at least 17 x 17 cms.
I then edged mine with an overlocker to ensure they don’t fray. You can edge them with a sewing machine, use some Fray Stop, or just leave them to fray – cut them a little bigger if you’re not going to edge them, to allow for the fraying.
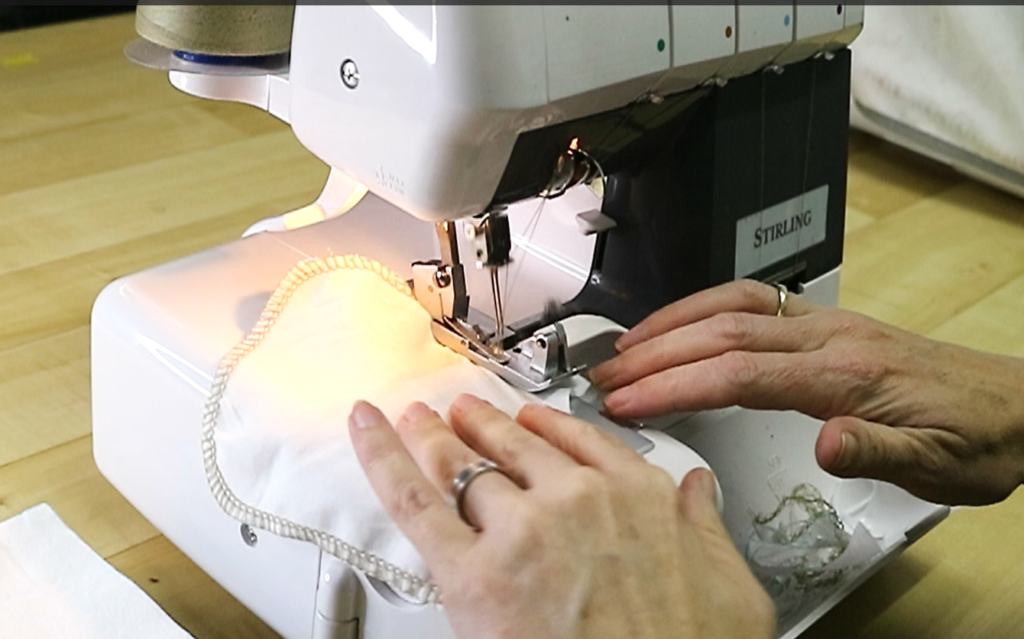
Don’t forget, knit fabrics won’t fray! But they will roll at the edges.
When they’re ready, label each one with a dye colour. I used a laundry marker to ensure it wouldn’t wash out or fade over time.
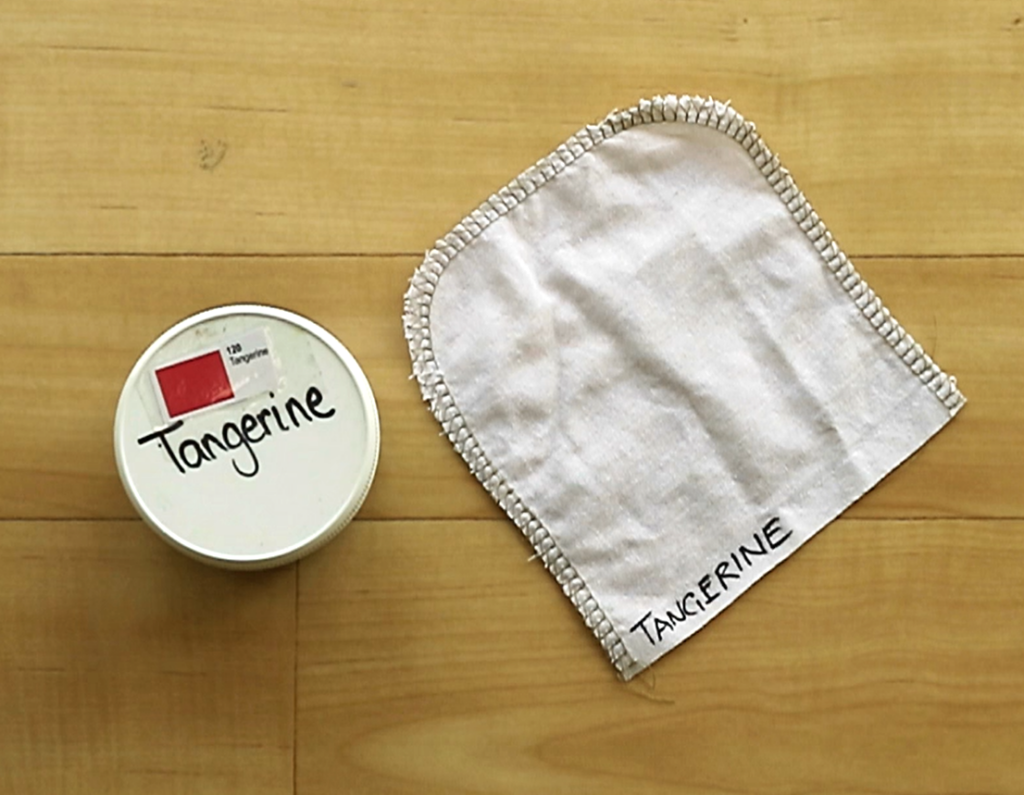
Once they’re labelled, soak in a soda ash solution for at least 20 minutes.
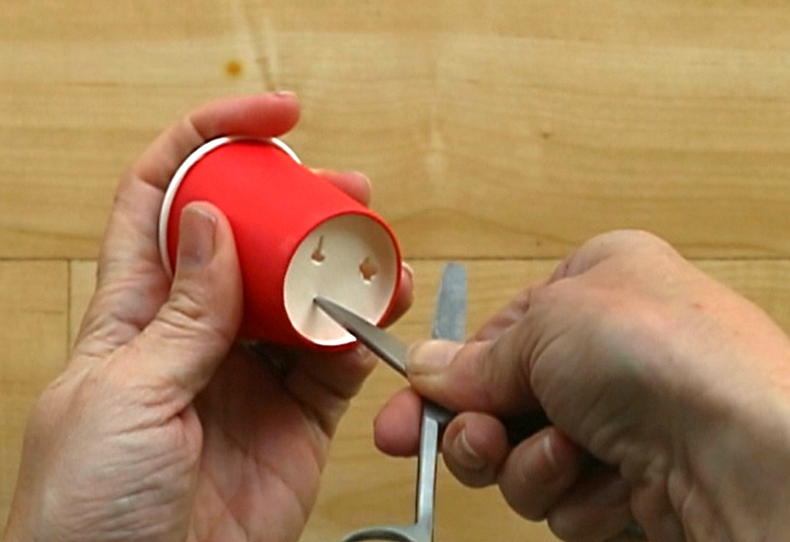
3. Prepare your cups and your workspace
While your swatches are soaking, poke a couple of small drainage holes in the bottom of each of your paper cups.
Assemble your swatches, dyes, cups, and racks ready to go.
If you need to split the process into a few sessions, leave it here. Everything will be ready to go when you are.
4. Start dyeing!
Squeeze your soda ash soaked swatches out (don’t forget your gloves) and stack them up, ready to go.
Take one of your paper cups. Scrunch one of your swatches and stuff into the bottom, taking note of the colour written on the swatch.
It doesn’t matter how you scrunch, or fold, or if it’s tight or loose, but try to do them relatively uniformly.
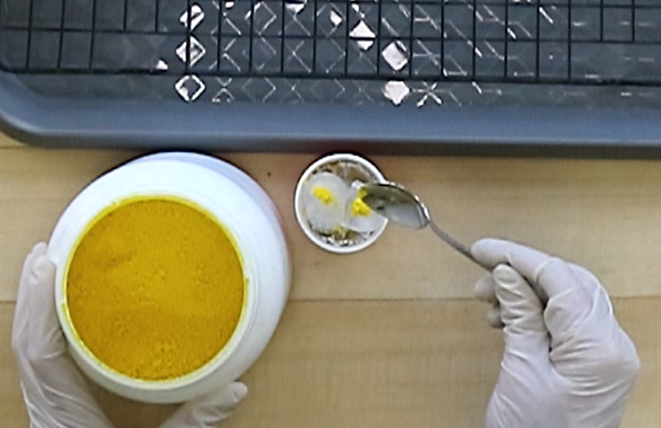
Add a couple of ice blocks. I used three for each cup.
Use your spoon to sprinkle a small amount of the correct dye over the cubes. Again, try to keep this fairly uniform – don’t put on a small amount of strong colours and a large amount of pale ones.
Pop it onto a rack to melt and set, clean your spoon, and move onto the next swatch until they’re all done.
BIG WARNING: Double or triple-check that the colour written on each swatch matches the dye you use. It would be easy to get confused, but if you start mismatching them you’ll probably have to throw out the lot and start again.
This is why I did them one at a time. I had all the unused dyes on the table in front of me, and moved each to the shelf behind me after I swatched it.
I had 68 colours to swatch, so I had a high chance of confusion!
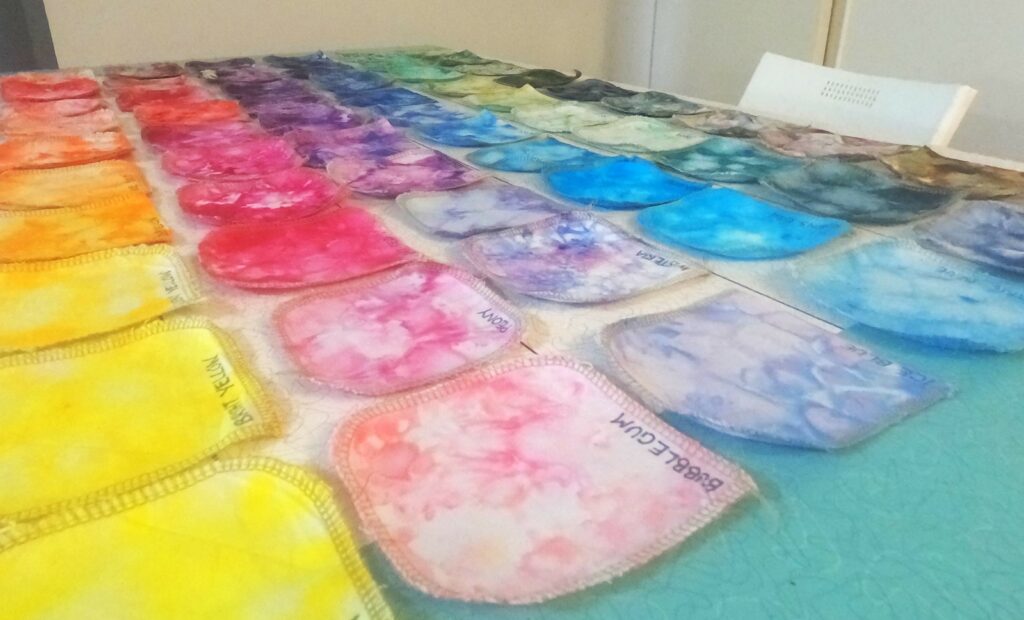
5. Leave to melt and set
Procion dyes need at least six hours to bond properly with the fabric – that’s in ideal conditions.
But don’t they look beautiful while they slowly melt?
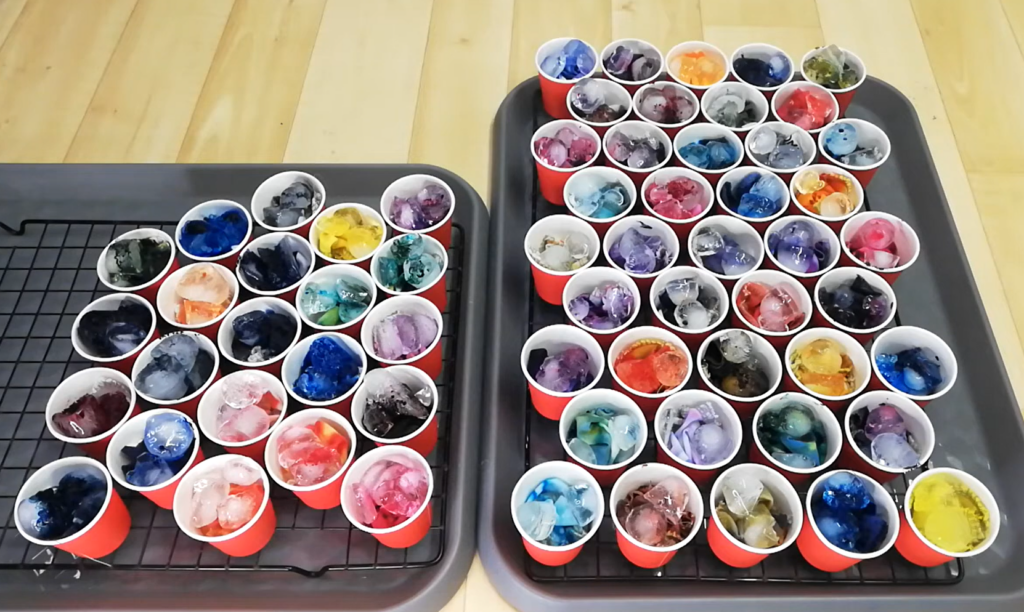
I like to leave everything for 24 hours, especially when ice-dyeing – heat is one of the factors that improves dye setting.
So put them somewhere safe, cover with something to stop them drying out, and keep them as warm as possible while you wait for the dye to do its magic.
6. Rinse + wash
OK, OK!
You can stop waiting impatiently and rinse out your swatches.
Here’s a video I made running through how to rinse and wash tie-dye.
In short, rinse in cold water, rinse in hot water, and then wash as normal in your machine.
Once they’re done, hang them up to dry and admire them!
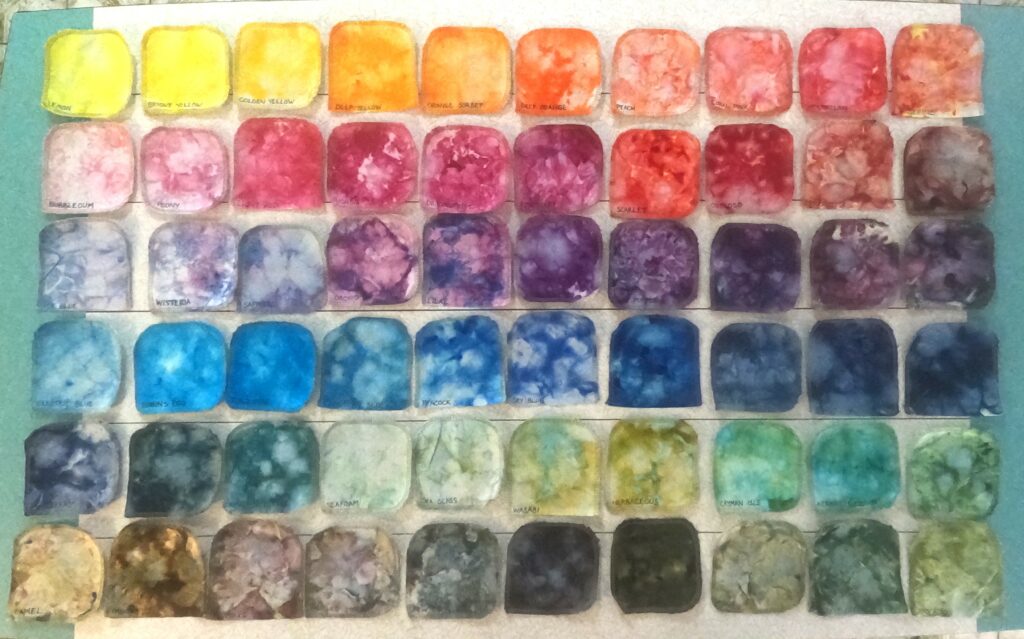
All my swatches!
OK, nearly all – they wouldn’t all fit on my table.
(This doesn’t mean I need fewer dyes, it means I need a bigger table 😉)
How to use your ice-dye swatches
You now have a fantastic selection of ice-dye colour samples ready to use.
And so whenever you have a project in mind, you can pull out your swatches and plan it accurately.
I enjoy experimenting and moving swatches around until I find the colourway I like.
I also find them really useful when dyeing for other people. Getting written or verbal instructions can be difficult, as people don’t always know exactly what they want, and I might misunderstand what they mean. Being able to visualise it means we’re both on the same page.
This colourway was for a custom set of bedding I made. The customer requested a galaxy in pinks and aquas, and I threw in the darker blues for more contrast.
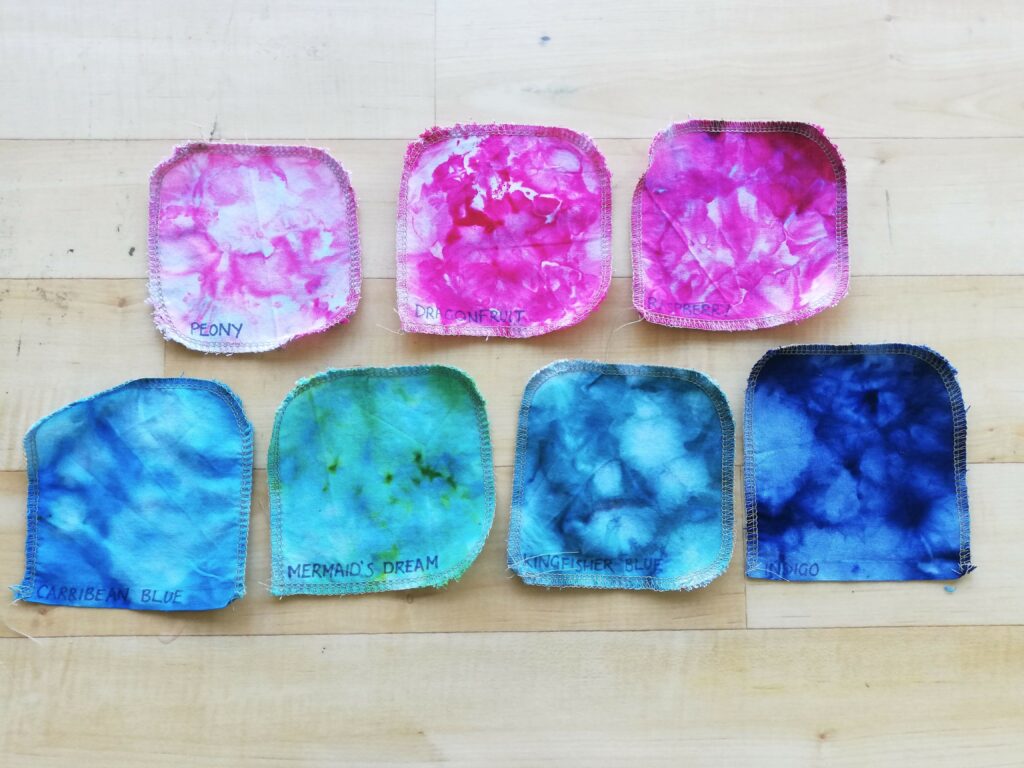
When I sent this photo through she loved it, and I could get started knowing there were no misunderstandings!
Thanks for reading and watching! I’d love to hear if you decide to try it and DIY your own ice-dyed swatches. Tag @dyediyhq on Instagram or Facebook and I’ll check it out.


0 Comments