This post contains affiliate links, which means I may earn a commission (at no extra cost to you) if you click through and purchase. As an Amazon affiliate I earn from qualifying purchases. Thanks for your support. Read the full disclaimer.
No, you don’t have to use ALL THE COLOURS for great looking tie-dye!
Monochrome tie-dye looks fantastic, it’s easy, and you only need ONE colour of dye to do it.
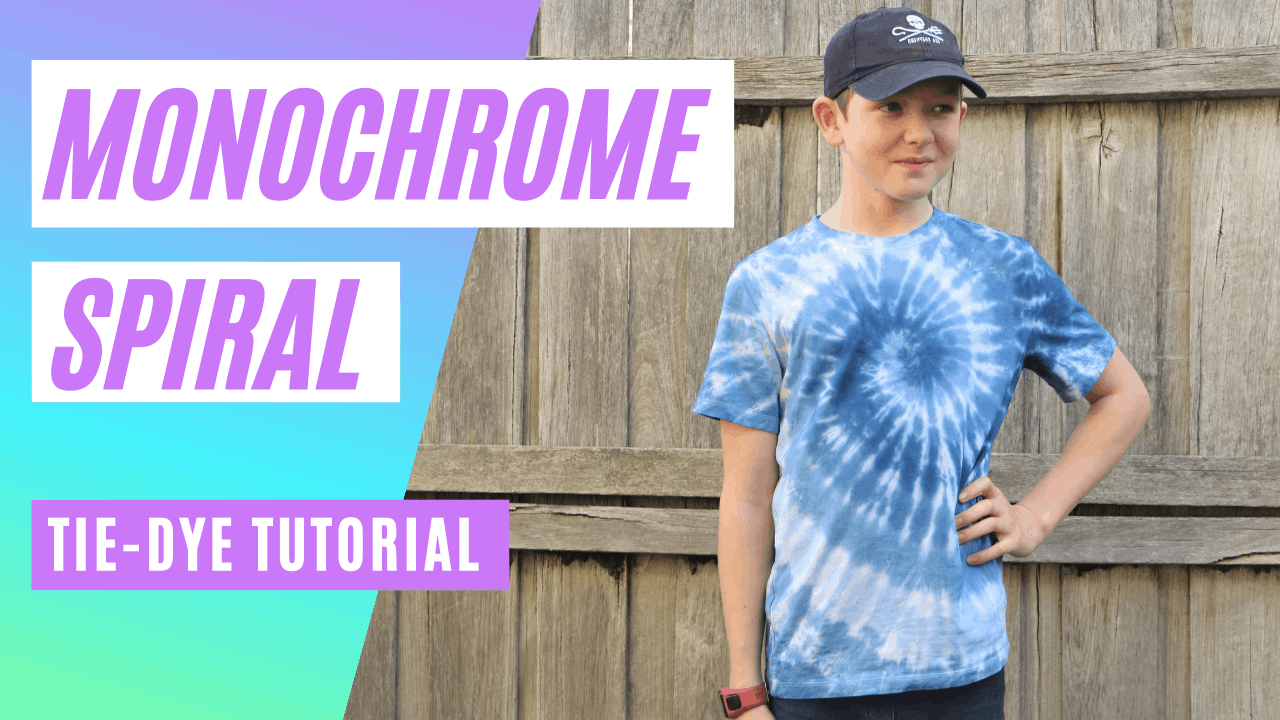
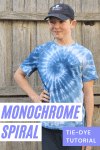
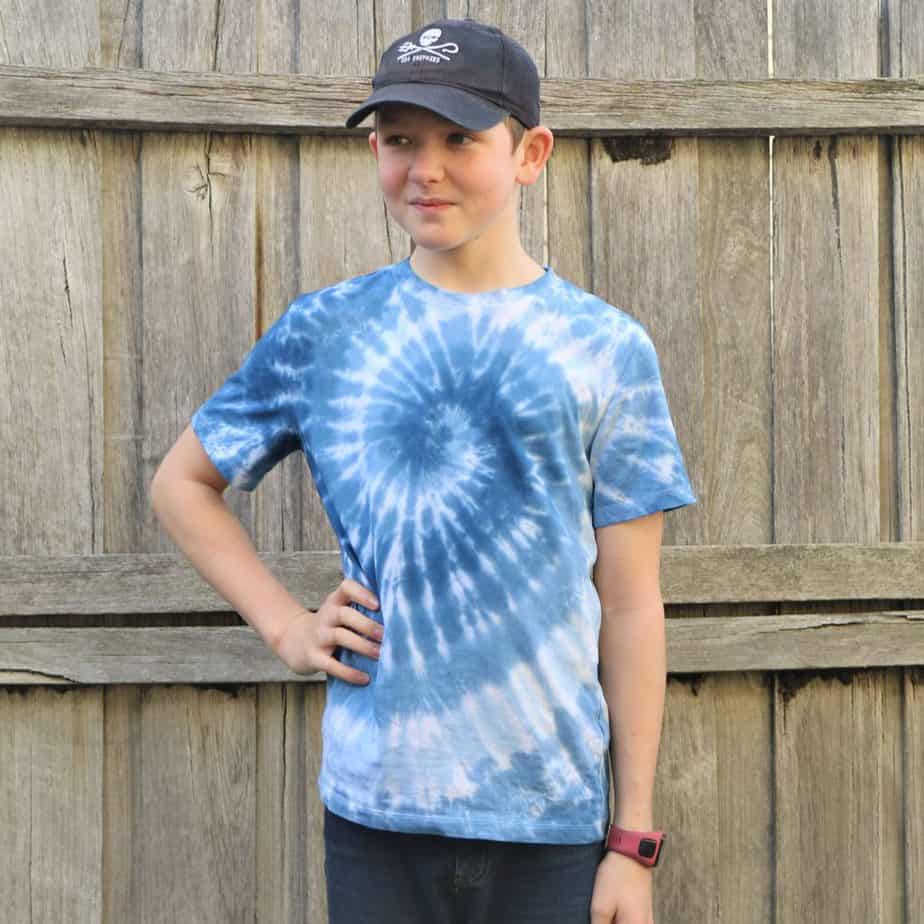
Forrest was keen to try out this tie-dye technique, and chose to make a tie-dye spiral in shades of blue.
Follow along with the tutorial below to make your own monochrome spiral – you don’t have to use blue, any colour will do!
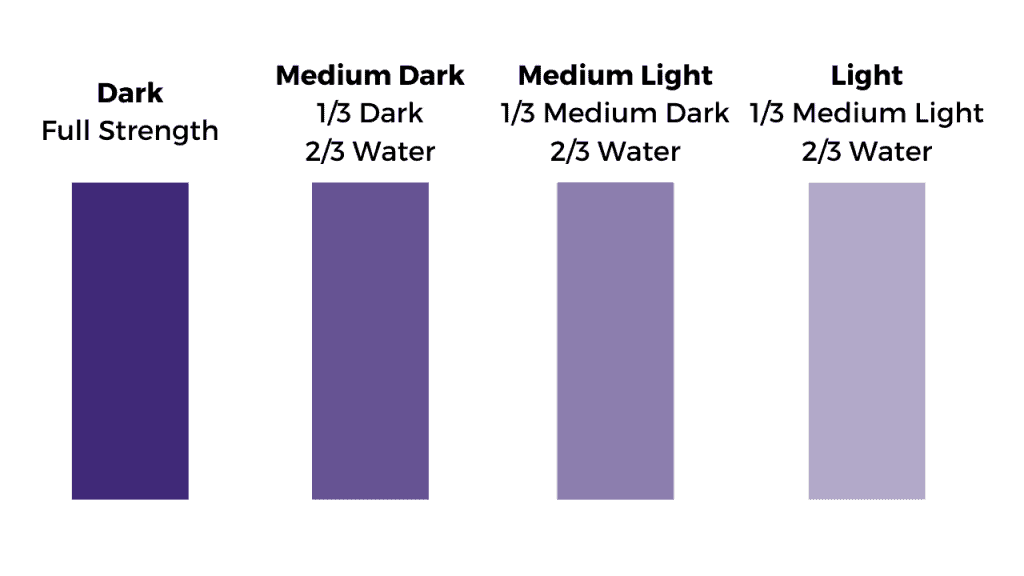
The following diagrams (ha! dye-agrams! I’m easily amused) show you how to mix and apply the dye.
The darkest dye is mixed first, at normal strength. It’s applied to 1/6 of the twisted spiral. After that, you’ll dilute and apply the medium dark dye, then dilute and apply the medium light dye, and finally dilute and apply the palest dye.
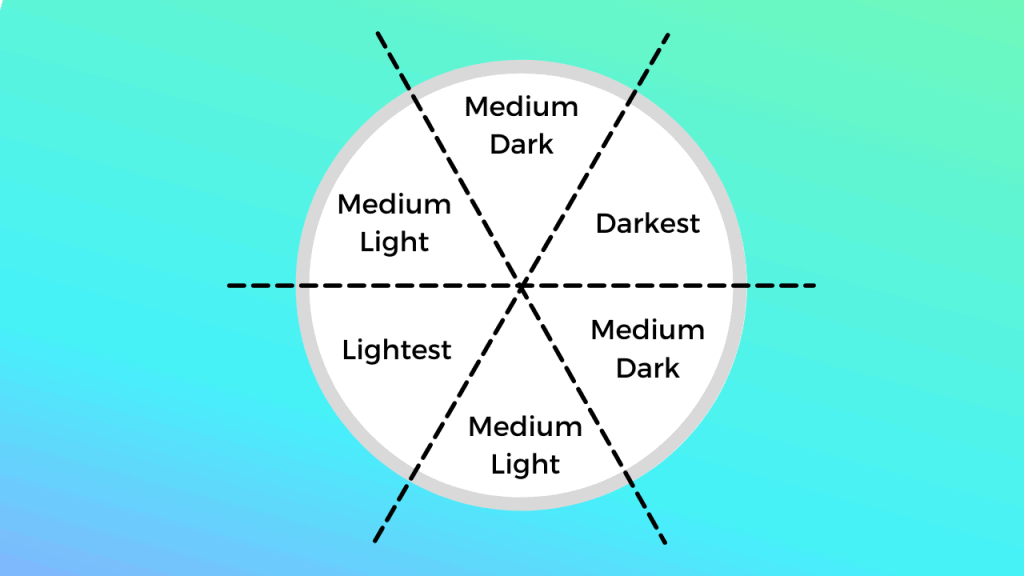
You only need ONE colour of dye (we used indigo/navy) and one bottle.
First, mix a bottle of dye as you would normally and apply to the ‘darkest’ slice of the spiral.
Then pour out excess dye until you have about 1/3 of a bottle of dye. Top it up with water – you now have 1/3 of the full strength colour, diluted with 2/3 water.
Apply this medium dark colour to either side of the darkest slice.
Then repeat for the medium light, finishing off with the lightest colour on 1/6 opposite the darkest.
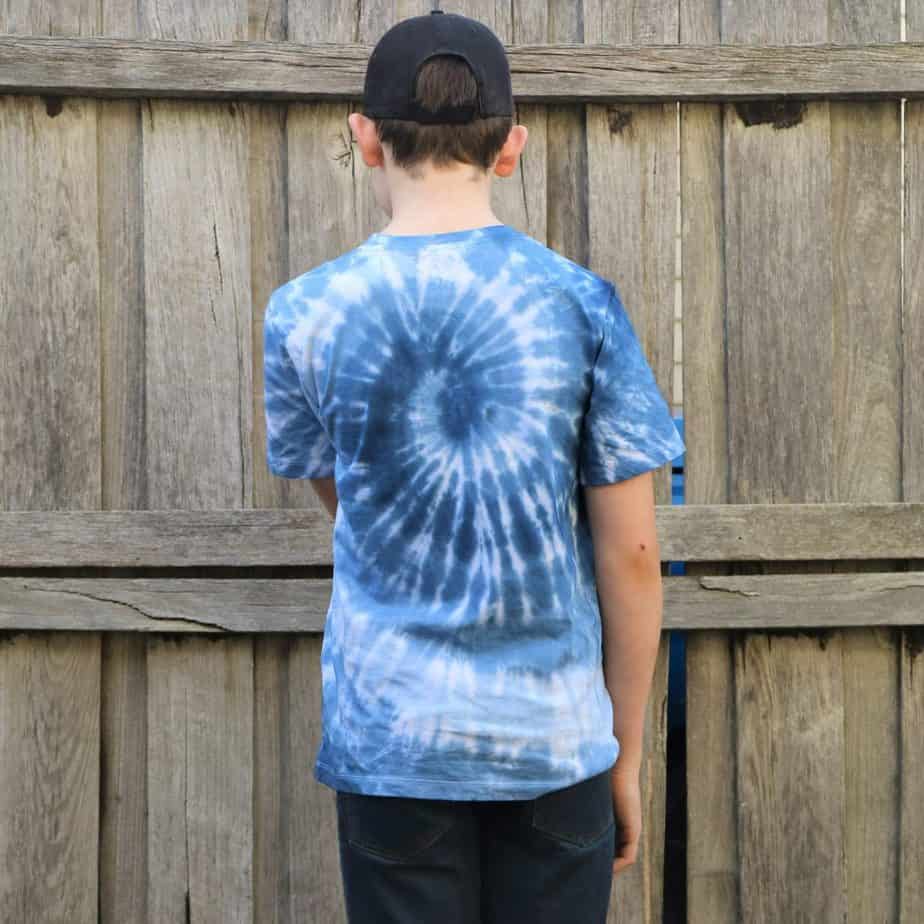
And you should end up with a monochrome tie-dye spiral that looks a little like this!
I think it’s a great effect.
We use Procion dyes, but if you want something a little simpler Tulip tie-dye kits are a great option.
Thanks for watching! We’d love to hear if you decide to try it and DIY your own monochrome tie-dye spiral. Tag @dyediyhq on Instagram or Facebook and we’ll check it out.



0 Comments