

This post contains affiliate links, which means I may earn a commission (at no extra cost to you) if you click through and purchase. As an Amazon affiliate I earn from qualifying purchases. Thanks for your support. Read the full disclaimer.
I’m going to make a bold claim.
Tie-dye spirals are the most popular tie-dye pattern.
They’re immediately recognisable, right?
And I don’t think there would be many people who disagree with me.
Anyone?
Spirals, also know as the tie-dye swirl pattern, are what most people think of when they think of tie-dye
And the best news?
It’s actually pretty easy to learn to fold and dye a spiral pattern.
It’s simple to fold, you only need basic supplies, and a good tie-dye kit contains pretty much everything you need, so even an absolute beginner can create great tie-dye spirals.
So here’s your crash course on how to tie-dye a spiral pattern – the videos below will show you how to fold spirals well, how to apply dye, and give you plenty of ideas of how to experiment and have fun with different spirals.
How to Fold a Tie-Dye Spiral Pattern
The absolute easiest way to fold a tie-dye spiral is by pinching the centre of the spiral with your finger and thumb and twisting, and it’s a great way to begin folding spirals.
You’ll get pretty good results with only a few minutes of folding, and this is the method I share in the video below.
More ideas for folding spirals
Got the basics and ready to take your spirals to the next level?
Fun Endeavours show you how to use a fork to create a neat spiral that is achievable for beginners.
Igotdyeonit uses a microwave cover and haemostats to get uniform folds.
If you don’t have haemostats lying around (er…does anyone?) I’ve found tweezers work quite well.
Chroma Clothing shared a brilliant quick video on how to create a perfectly folded tie-dye spiral. Don’t expect to do this on your first try, but it’s definitely worth aiming for this level of precision if you want to get serious about tie-dyeing spirals.
Note how they split folds for uniform height, and maintain the blue circle for perfectly even folds.
How to apply dye to a tie-dye spiral
In short, think pizza slices.
(No chewing on it though, OK?)

Simply divide your circle up into segments, and apply a different coloured dye to each segment.
How many segments? One for each colour!
For two colours, do halves (like the video above) or make four segments.
If you have three colours, use 3 or 6 segments.
And so on.
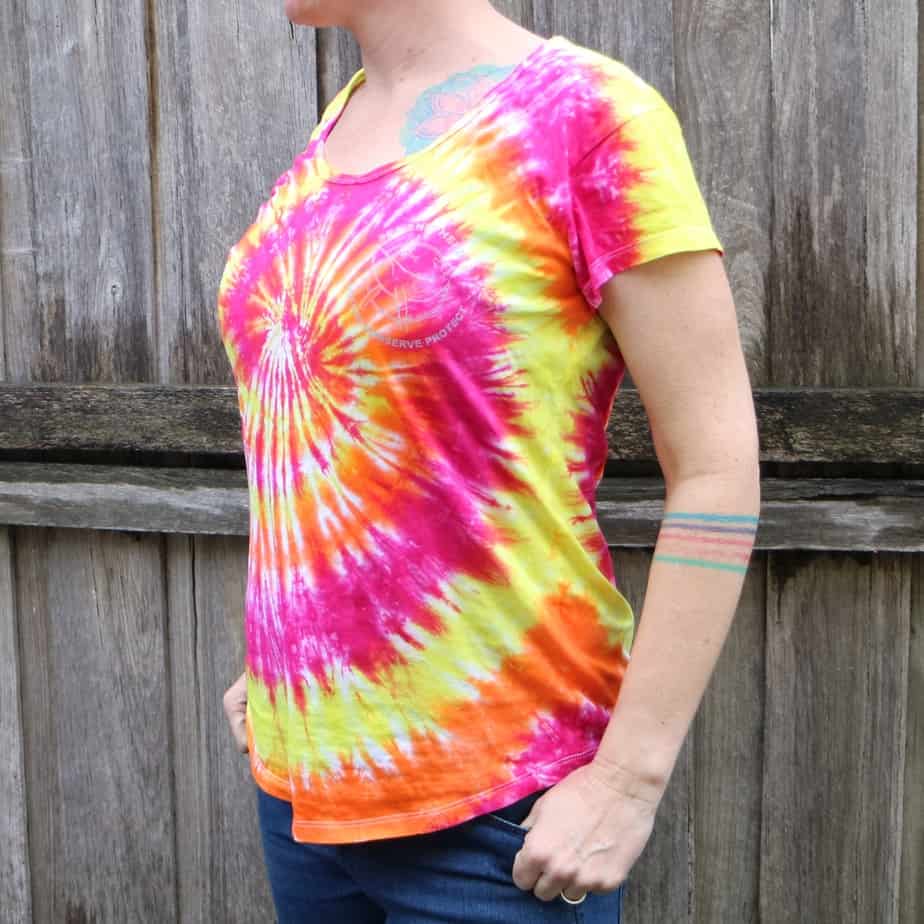
In the video below I apply dye in thirds to get six colours.
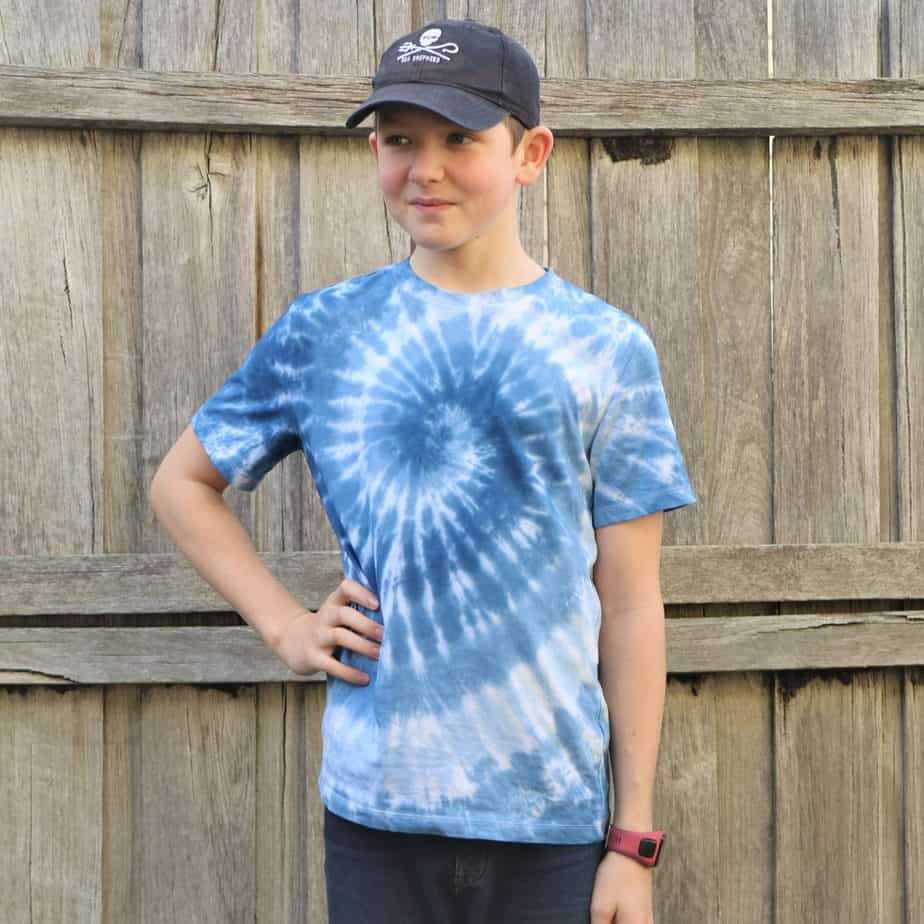
And this spiral has three colours, but I applied the dye in six segments.
Pretty simple, right?
You can definitely do this!
Tips and tricks for a successful tie-dye spiral
- Damp is easier than dry or wet. After preparing your shirt spin it in your washing machine, or squeeze out well.
- Fold on a large, smooth, flat surface.
- Make sure your folds have a fairly uniform height – they tend to get bigger toward the edges if you let them.
- Secure your fold firmly but not tightly. The folds should be secure without bunching up the shirt.
- Don’t just twist – use your other hand to put tension on the ends of the folds, move the fabric around, and split folds.
- When applying dye peek between the folds to make sure your dye has penetrated, otherwise you’ll end up with LOTS of white.
- For your first attempts choose a basic t-shirt or flat piece of fabric. Skip items with pockets, zips, or heavy fabric, as these are much harder to fold evenly.
The videos and tips above will help you create some fantastic basic tie-dye spirals.
However, if you want to get pro results there are a few tricks you can try.
Tie-Dyed Spiral Variations
So now you can fold a passable spiral, what else can you do with them?
You can ice-dye spirals.
Got a dark shirt? Try a reverse tie-dyed spiral with bleach or discharge paste!
And you DON’T have to do standard pie-slices of dye colour. Experiment with gradients and splitting your colours unevenly for stunning results.
You don’t have to position your spiral fold in the centre of a shirt, you can experiment with different placements. For example, a spiral fold is how you create a spider tie-dye pattern.
Or try placing the centre of your spiral on a different part of the shirt, like Fun Endeavours – the shoulder, the side, a bottom corner.
However, try not to centre it on the stomach (unless you want to emphasise roundness – maternity maybe?) the breast of a woman’s item, or genital areas.
The centre is a focal point, so make sure you WANT it to be a focal point.
And once you’ve mastered the basics, you can try bulkier items, like hoodies.
Wanna get advanced?
You can mix spirals with scrunch, like LSD Tie-Dye TV.
Pro tip: If you have an item with tricky parts that make the outer parts of the spiral difficult to fold evenly, this is a brilliant pattern.
And if you’re feeling REALLY ambitious (and patient) try a switchback spiral.
Isn’t it amazing?
And that is all you need to know to start making tie-dye spirals, refine your technique, and try some more advanced ideas.
As you learn and experiment, make sure you record everything you do. You can use my free tie-dye journal to make sure you don’t forget a single thing.
Thanks for reading! We’d love to hear if you decide to try it and DIY your own tie dyes. Tag @dyediyhq on Instagram or Facebook and we’ll check it out.


0 Comments