This post contains affiliate links, which means I may earn a commission (at no extra cost to you) if you click through and purchase. As an Amazon affiliate I earn from qualifying purchases. Thanks for your support. Read the full disclaimer.
So you want to DIY your own tie-dyed clothes, bedding, or fabric? Brilliant! My How to Tie-Dye Like a Pro guide walks you through all the steps you need to learn how to tie-dye your own beautiful patterns.
This post will help you choose the best clothing and fabric for you, and prepare it ready to tie-dye.
View the rest of the articles here:
- Choosing the best dye for tie-dye
- Essential tie-dye supplies
- Choosing the best fabric for tie-dye (right here!)
- 11 easy tie-dye patterns for beginners
- Mixing and applying dye (coming soon)
- How to wash tie-dye
Want to get email notifications of new posts and videos? Sign up to join the Dye Club!
OK, let’s get started on choosing the best fabric and clothes for you to tie-dye.
What’s the best fabric for tie-dye?
Now you’ve ordered your dye, it’s time to choose clothes, bedding, or fabric to tie-dye.
…FYI: Dyers typically call their undyed items ‘blanks’…
The rule for all the dyes I’ve listed is that they work on natural, cellulose-based fibres.
So tie-dyeing dyes will work perfectly on:
- Cotton
- Rayon
- Bamboo
- Hemp
- Viscose
- Linen
Silk and wool can also work with fibre-reactive dyes, but they behave a bit differently because they’re protein-based fibres. It’s best to leave them until you have a bit more experience.
Any blank that contains mostly the natural fibres listed above will dye brightly and accurately. You can definitely have a small amount of synthetic fibres – for example, many t-shirts contain around 5% spandex and work just fine, and I’ve dyed 70% cotton/30% polyester hoodies successfully.
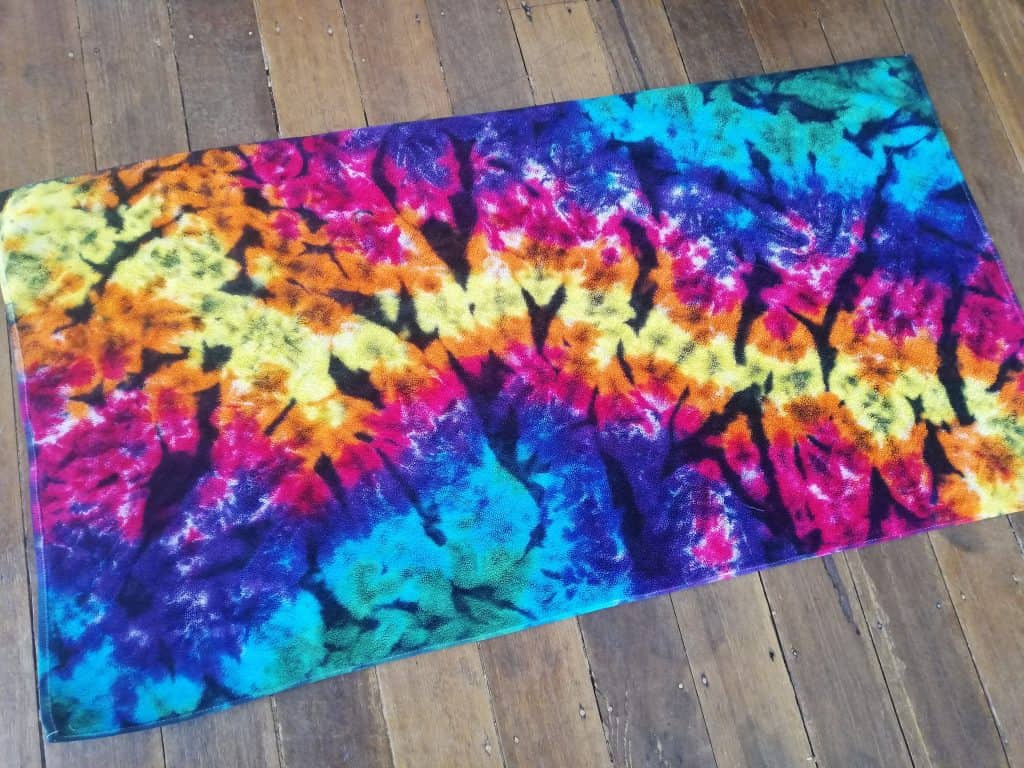
But if the item you’re looking at has a high percentage of synthetic fibres (nylon, Lycra, elastane, polyester etc.) skip it. The dye simply doesn’t bind to the synthetic fibres, and if you try you’ll end up with pale colours – or even worse, NO colour.
It’s heartbreaking to spend hours dyeing something only to have all the dye wash out. Trust me, I bought ‘silk’ sleeping bag liners that were actually nylon – my beautiful black-over-rainbow pattern rinsed straight out 😢
How to choose clothes etc. to tie-dye
First, make sure they have a high percentage of cellulose fibers, as listed above.
Next, you want to keep your first items simple. Plain items that lay flat and scrunch easily are great.
Try:
- T-shirts (of course)
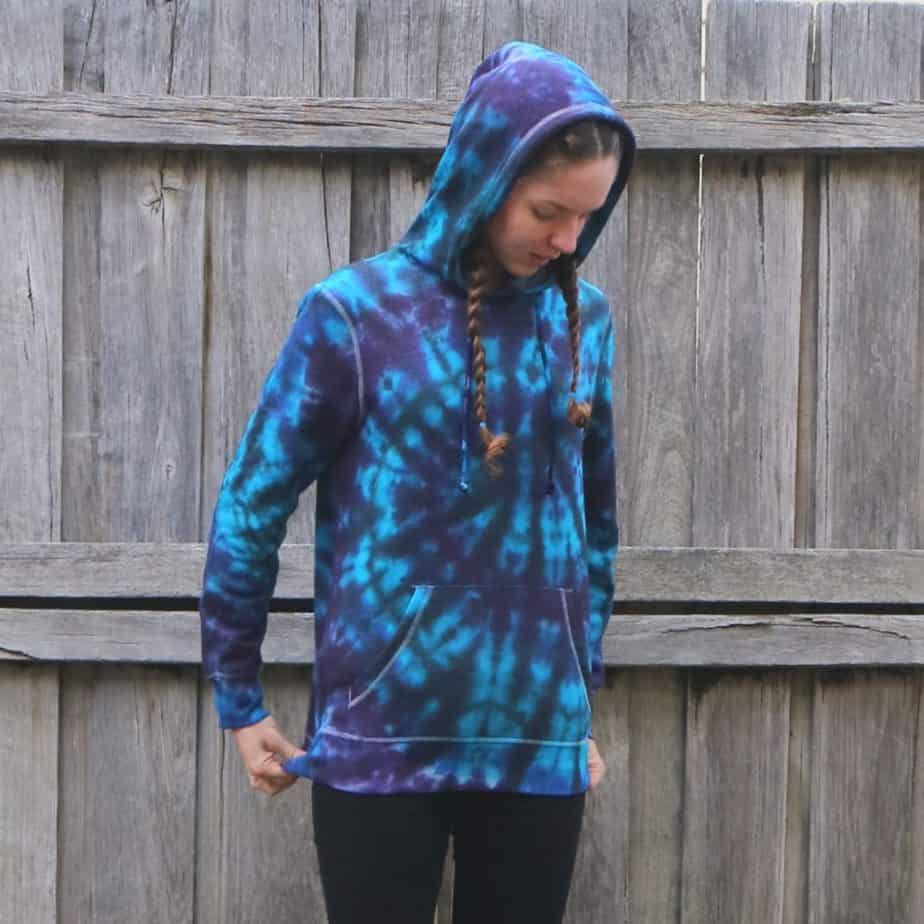
- Plain, non-bulky hoodies or sweatshirts (no pockets, thin fabric)
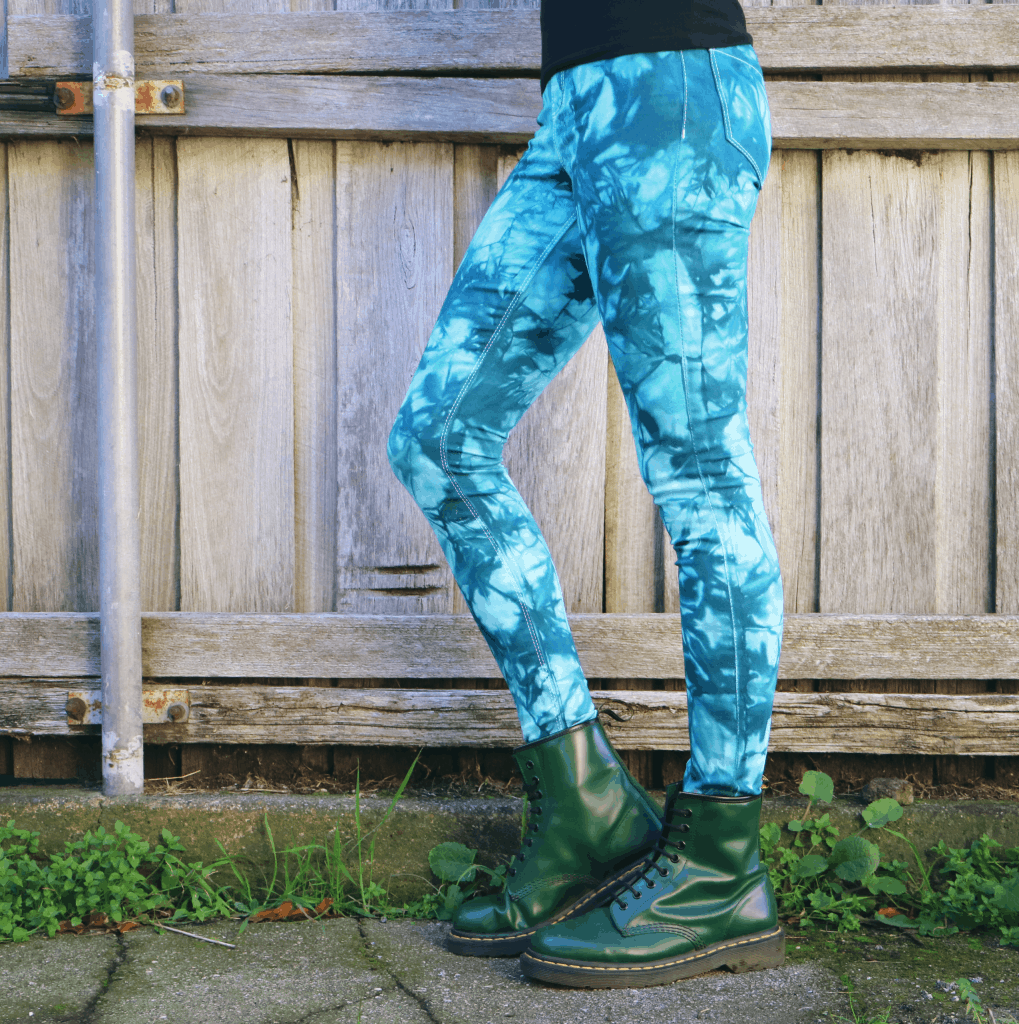
- Leggings
- Long-sleeved tops
- Sheets and doona covers
- Baby onesies/grow suits
Leave bulky items, like sweatpants, denim, and knitted sweaters until you’ve had a bit more practice – they’re much harder to manage.
Also, try to get fairly plain items. If something has zips, buttons, embroidery etc. it’s trickier to fold and get good dye placement.
Preparing clothes and fabric to tie-dye
You’ve got your blanks, so let’s get them ready.
EVERYTHING needs to be washed first. If they’re new, you need to remove any finishing chemicals and shop grime.
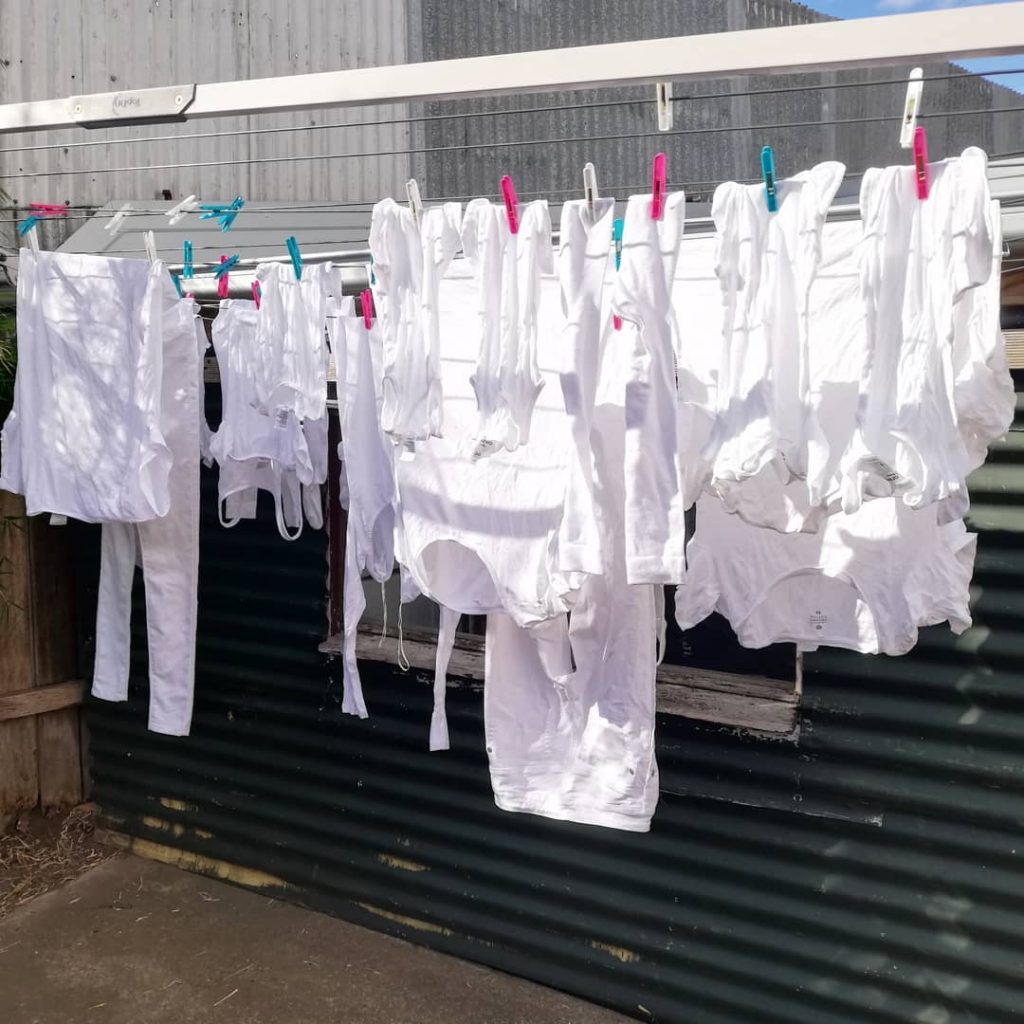
If they’re second-hand, or you already own them, you need to wash out any sweat or oil.
All of the above can prevent the dye binding to the fabric, or make it react in unexpected ways.
It’s not difficult – just wash and dry them in your normal way, but with NO fabric softener or dryer sheets. Both leave a residue, and you want your blanks squeaky-clean.
Soda ash soak for tie-dye
Soda ash is ESSENTIAL if you’re using Procion dyes.
If you’re using Tulip One-Step dyes the soda ash is included with the dye, so skip this step and go to 10 easy tie-dye patterns for beginners (coming soon).
As mentioned in our quick chemistry lesson, soda ash, aka sodium carbonate, helps the dye bind permanently to your fabric.
Here’s how to make a soda ash soaking solution.
- 1/2 cup soda ash
- 3 litres of water
Wearing gloves and a mask, mix the soda ash and water in a decent-sized container and stir until the soda ash has dissolved. Warm water will speed it up.
Pop your blanks in, leave for at least 20 minutes, and then they’re ready to dye. You can squeeze them out, spin them in your washing machine, or hang them on the line. Damp is best.
You can reuse this solution indefinitely, so don’t throw it out.
NEXT STEP
It’s time to choose a tie-dye pattern! Head over to 11 easy tie-dye patterns for beginners and decide exactly what you’re going to do with these fresh clean blanks of yours.
Have fun! If you need to know anything else about how to tie-dye please just ask and I’ll update the instructions.
I’d LOVE to see what you create with these tutorials. Please tag @dyediyhq on Facebook or Instagram and I’ll check it out, comment, and share.


0 Comments